Royal Oaks Country Club (Vancouver, WA)
Par 72 (7,017 yards)
Royal Oaks Country Club is located about 15 minutes from Portland, OR in Vancouver, WA. The course at Royal Oaks consistently ranks in the Top 10 for Washington State and amongst the 100 best “Classic” designs in the country.
There are a lot of things to really like about Royal Oaks from both a golf and country club perspective. A spectacular $7.2 million clubhouse and pro shop remodel has really modernized the club and will provide members with much improved amenities for years to come. The addition of a work out room to go along with the multiple pools and excellent restaurant will certainly attract new members, especially locals. Royal Oaks has a wonderful family and community spirit about it, that must make many other private clubs in the area jealous. The club’s solid junior program begins at age 5 and runs through high school which is commendable.
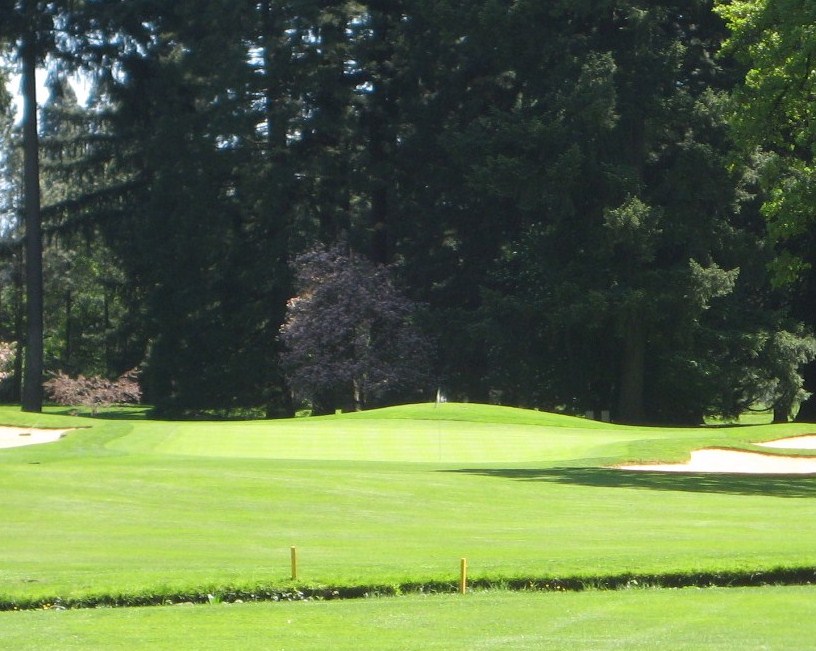
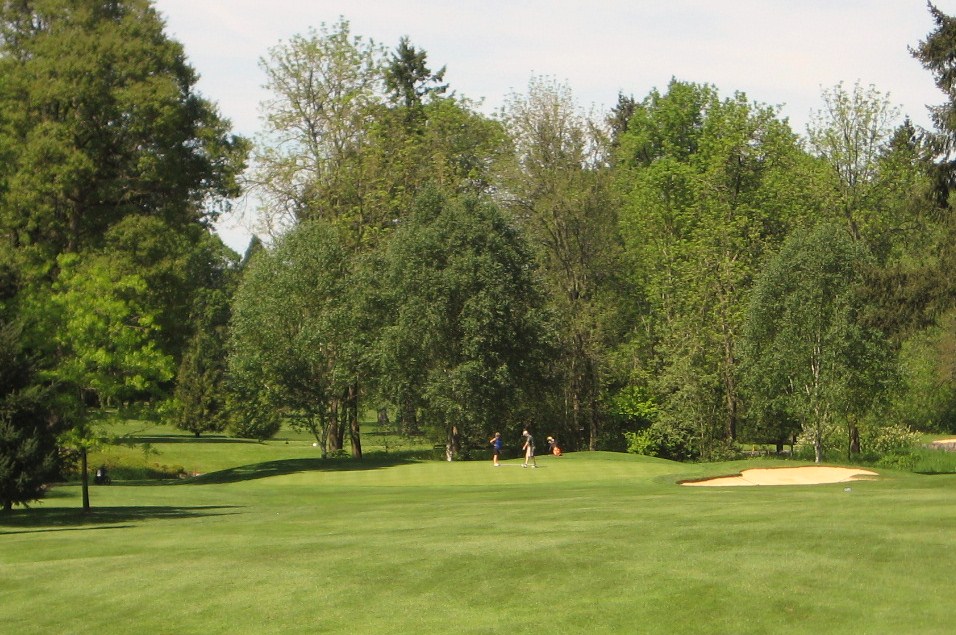
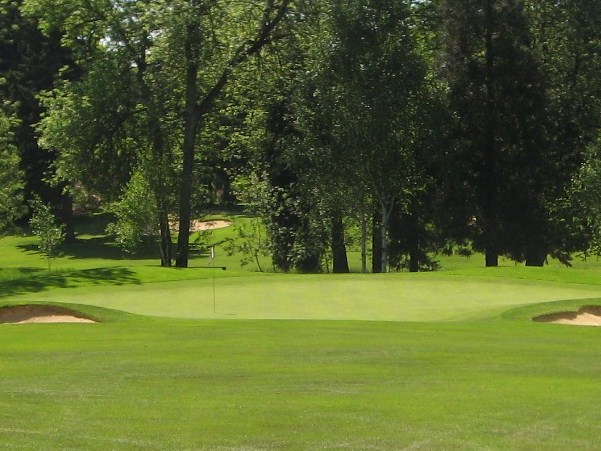
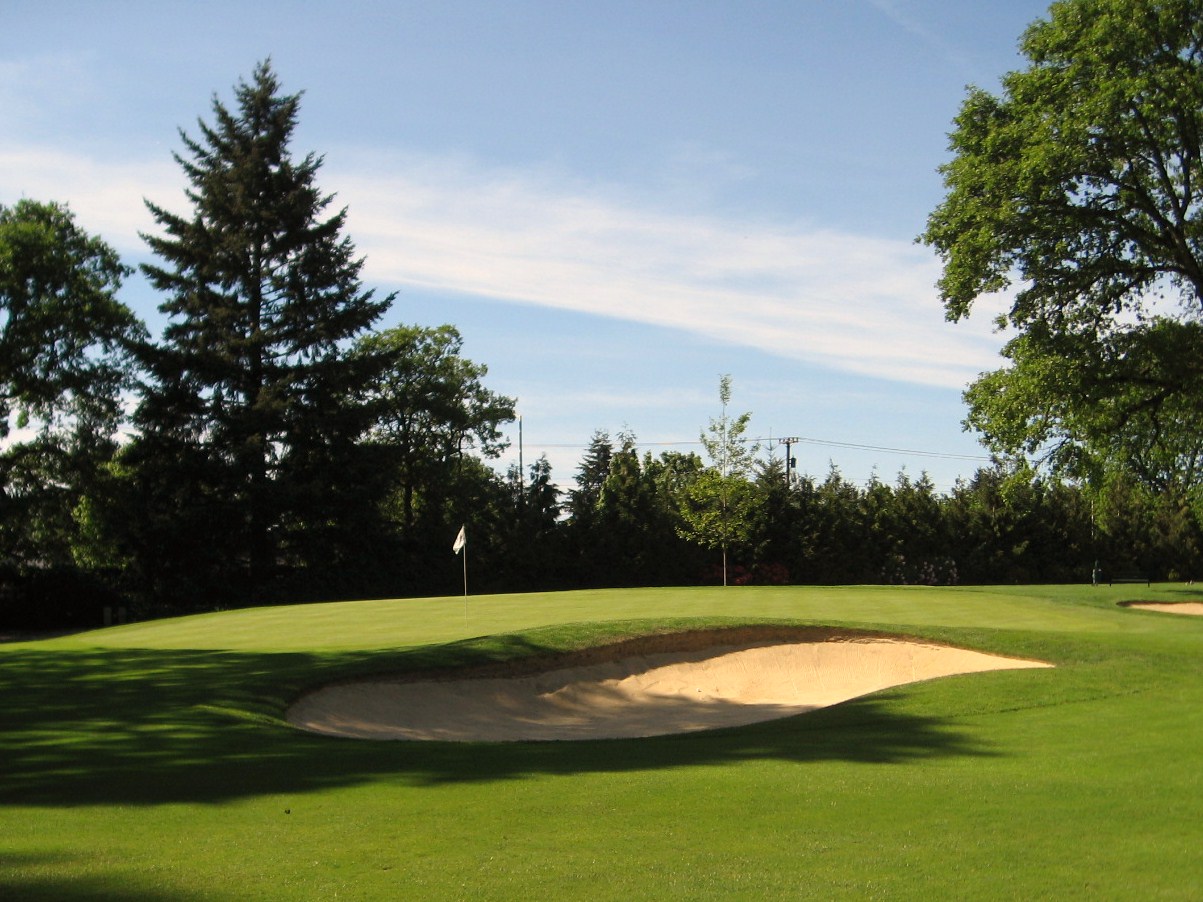
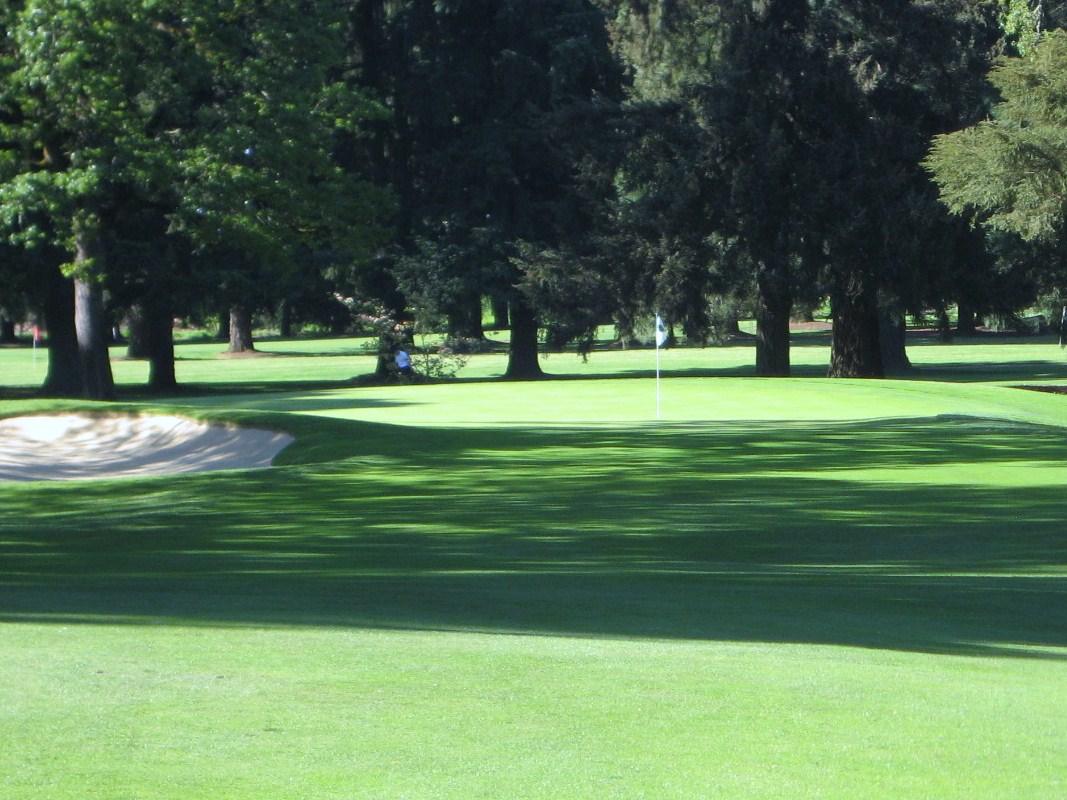
The 2nd Green at Royal Oaks. Photo by Rob Rigg.
The golf course at Royal Oaks is immaculately maintained by Alan Neilsen, the long time super, and his dedicated staff. The fairways, bunkers and greens were all in magnificent condition when I played, especially for so early in the season. The greens were fast, consistent and a pleasure to putt on. Despite an overwhelming number of trees, the greens must receive ample airflow and sunlight to be in such good condition.
Royal Oaks is very much a classic design that was routed across a rather small footprint of what must be less than 100 acres. The fairways are lined with trees, which serve to separate playing corridors throughout the round. To score at Royal Oaks, the golfer must be able to place his ball in the proper position off the tee. Most errant drives will force a punch out from under the trees back into play, and on some holes a drive or approach in the wrong portion of the fairway will leave the golfer stymied by trees. The greens at Royal Oaks tend to slope from back to front, so it is important to keep the ball below the hole to avoid a frighteningly quick down hill putt.
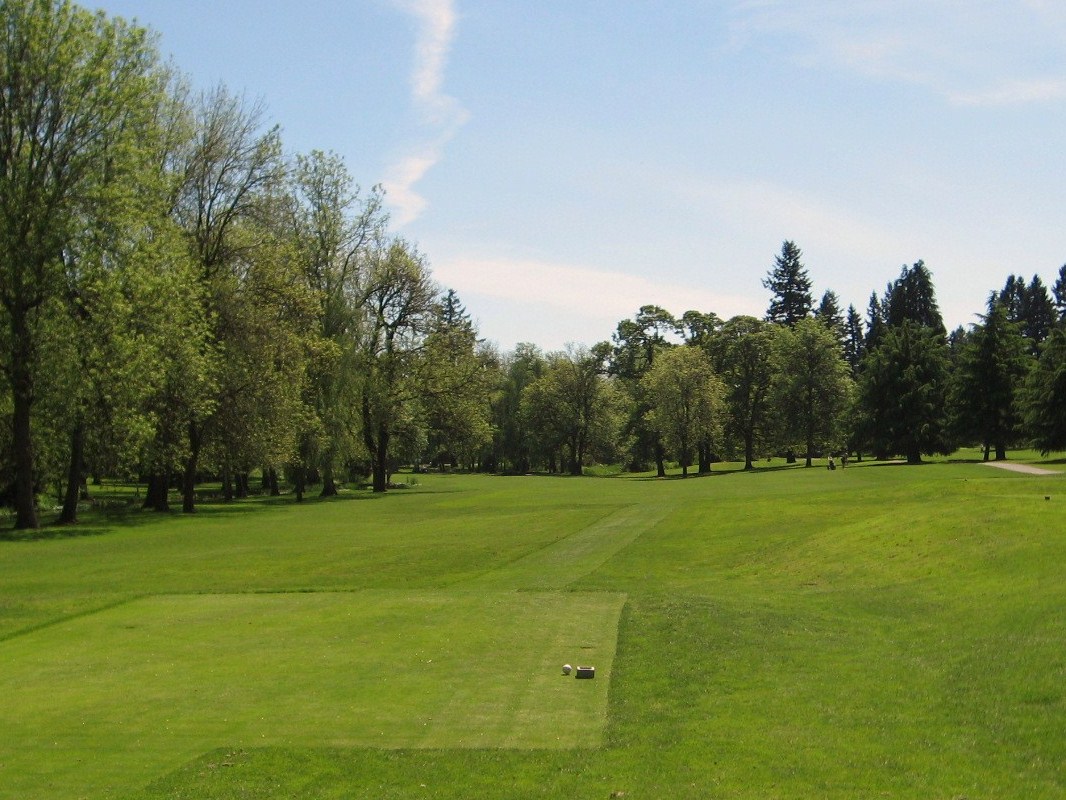
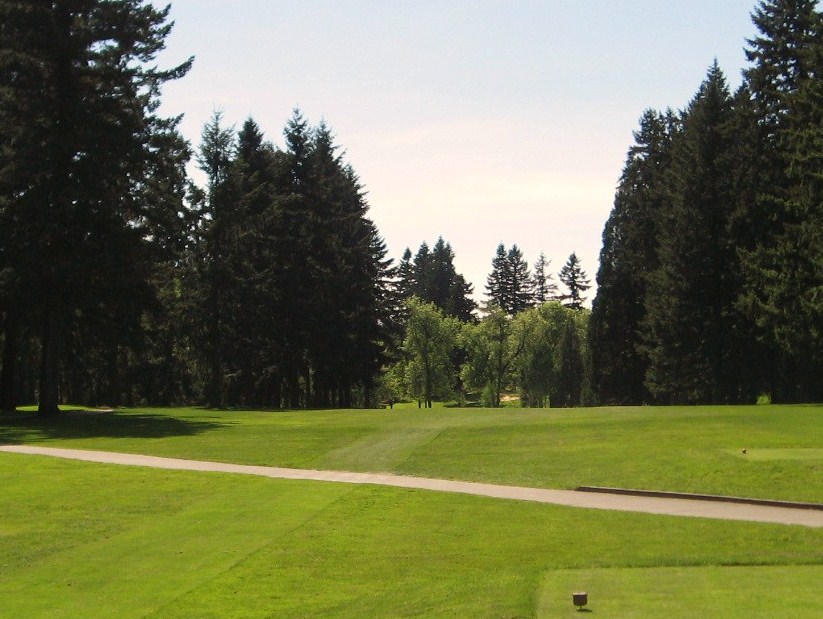
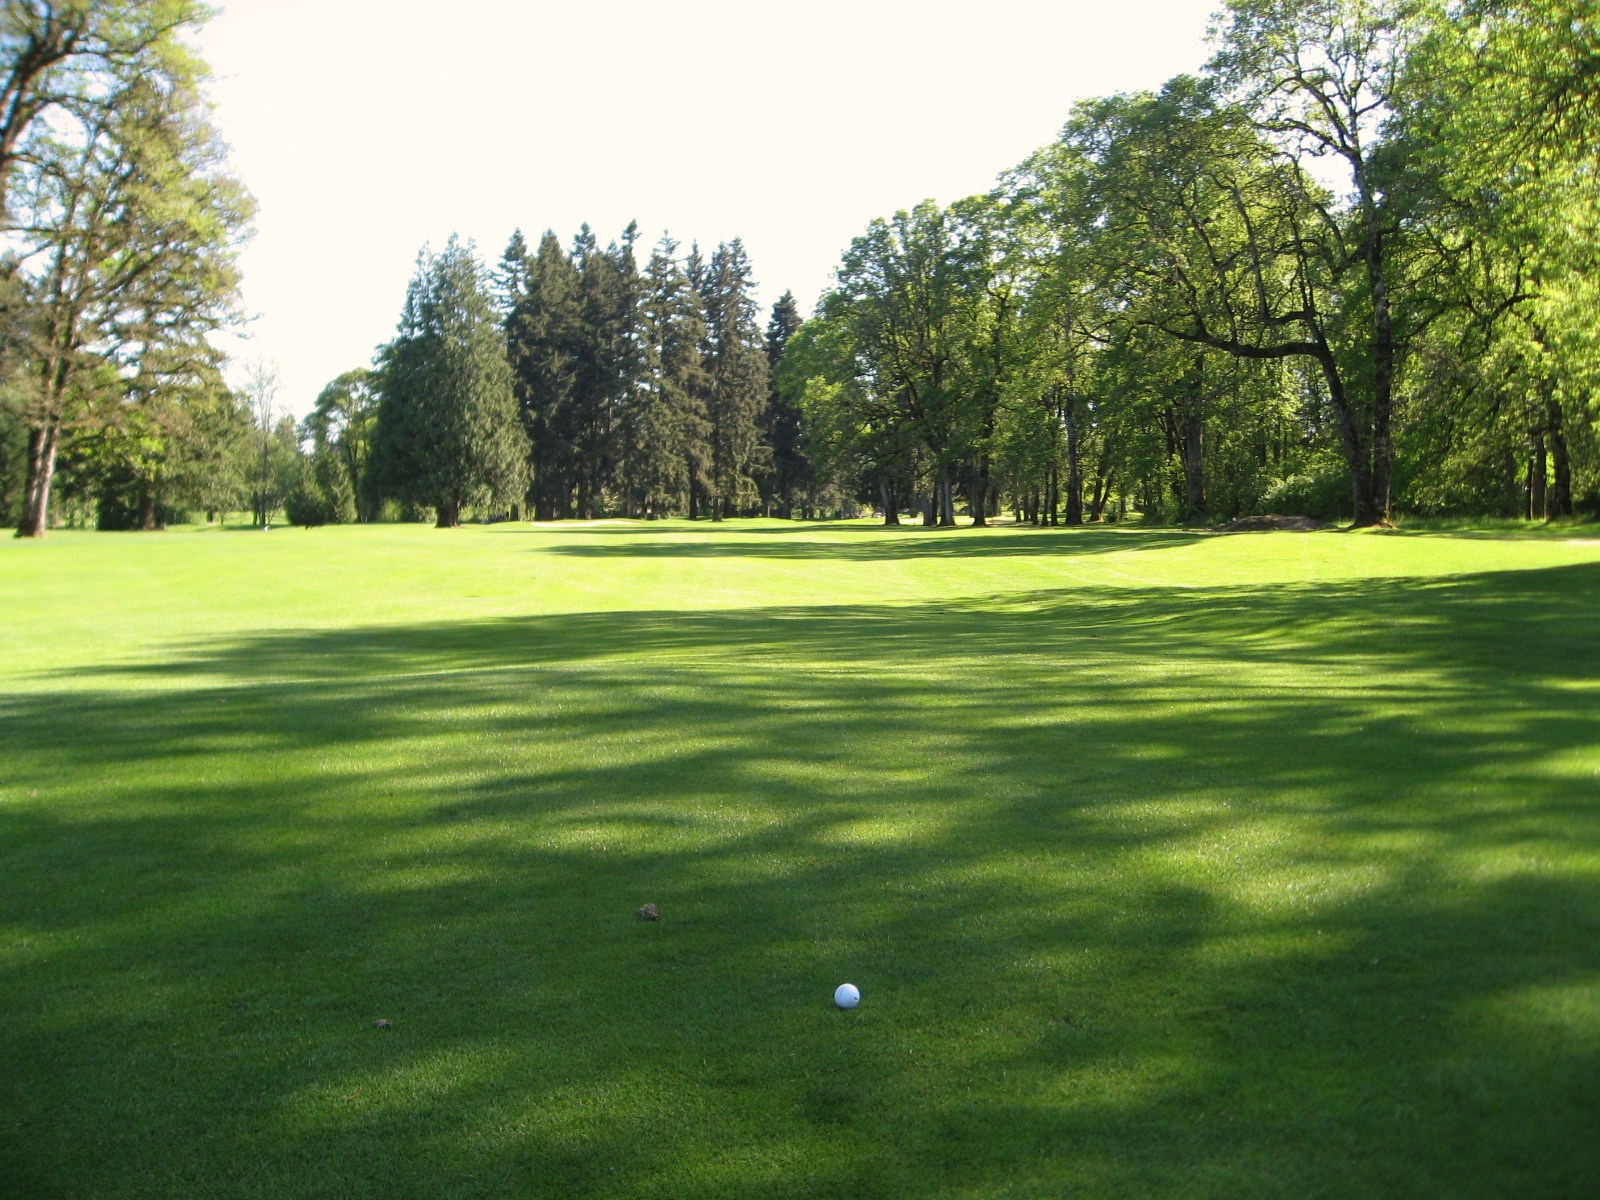
1st Hole – Early Warning – Par 4 (318/368)
The first hole at Royal Oaks reveals the strategy of the day. Place your tee shot, watch out for trees, and keep your approach below the hole.
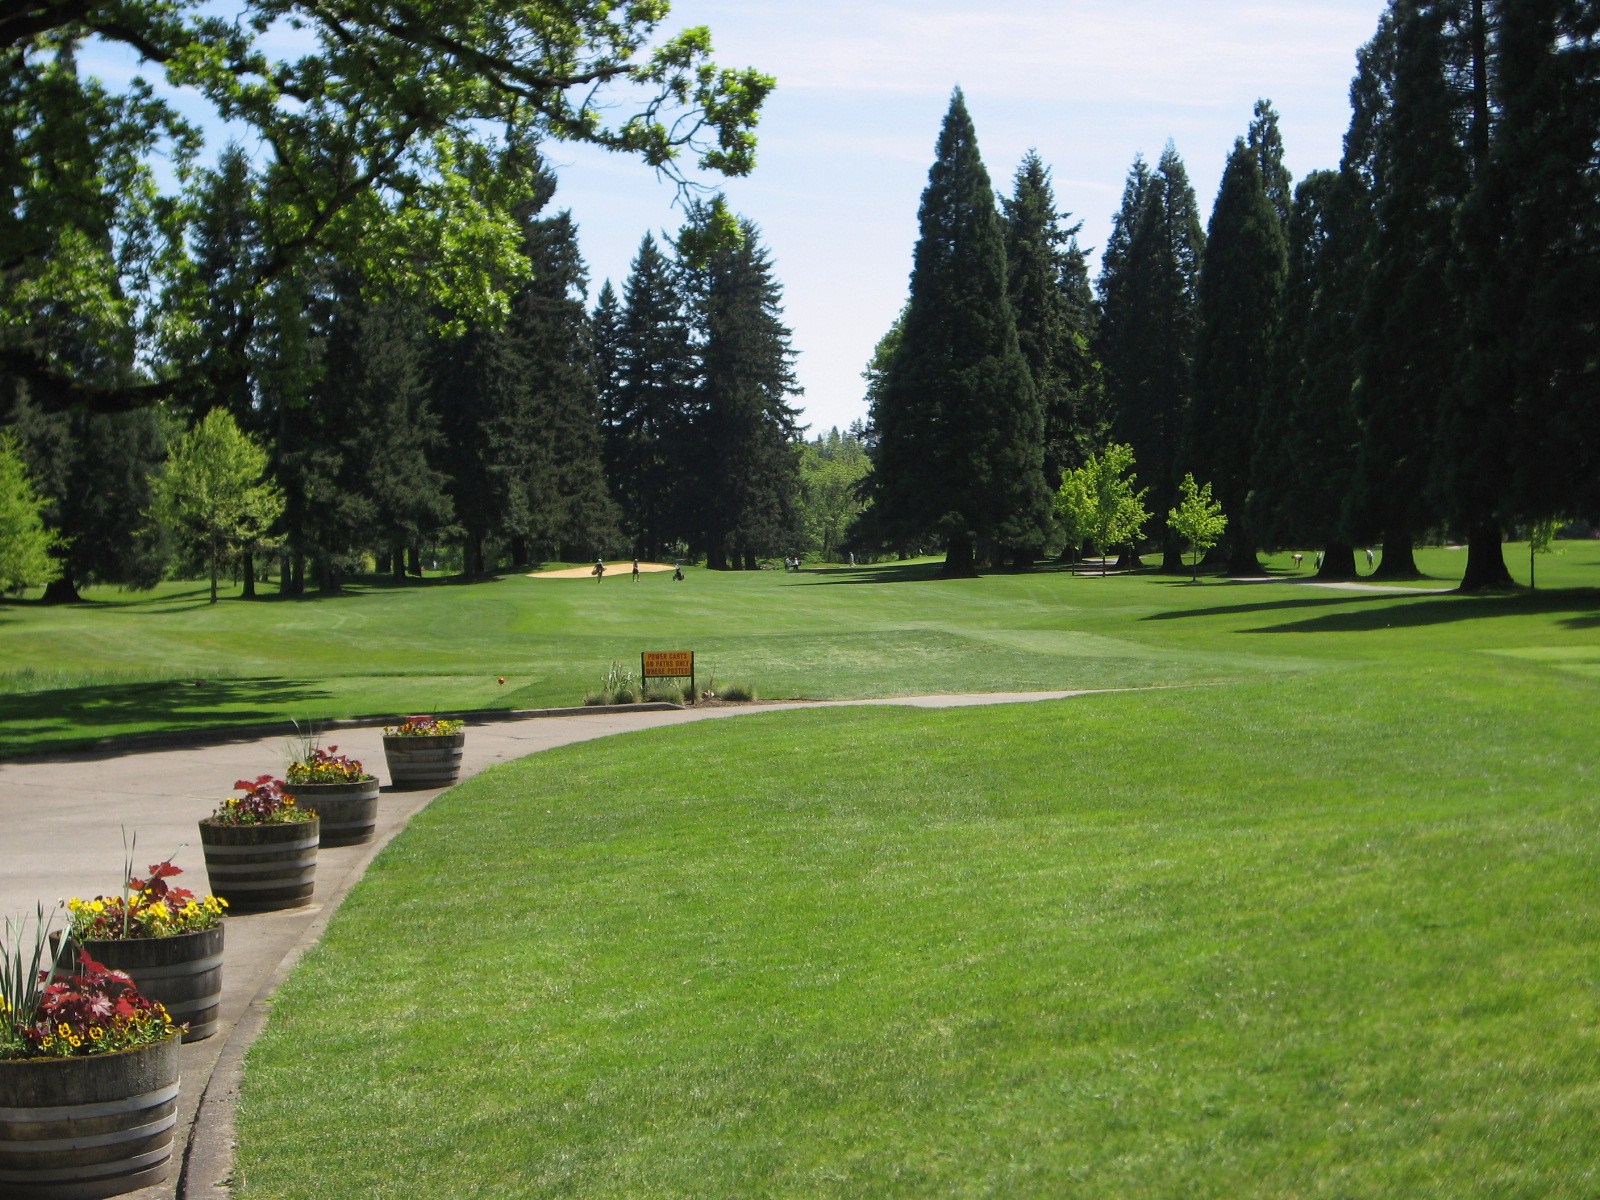
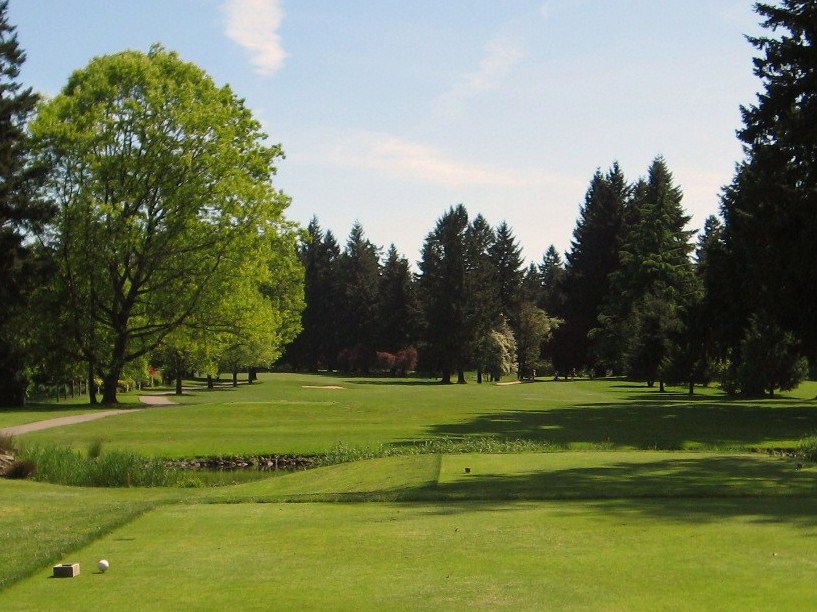
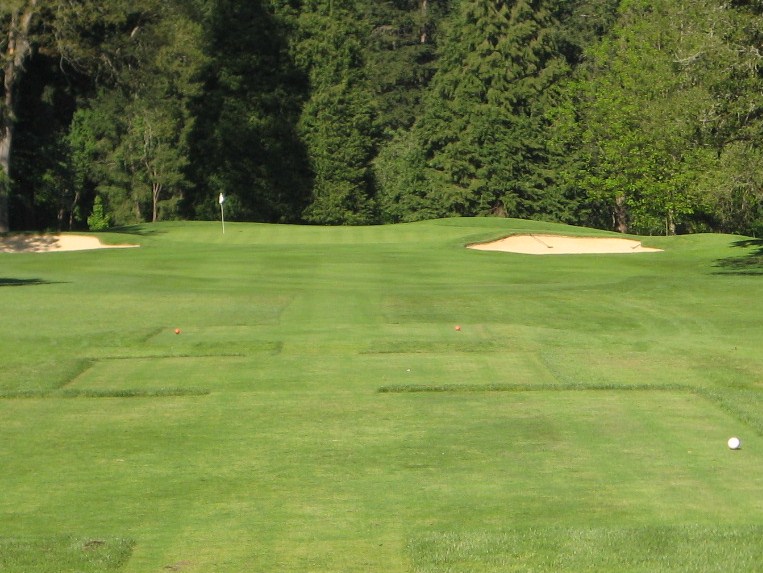
1st Tee at Royal Oaks. Photo by Rob Rigg.
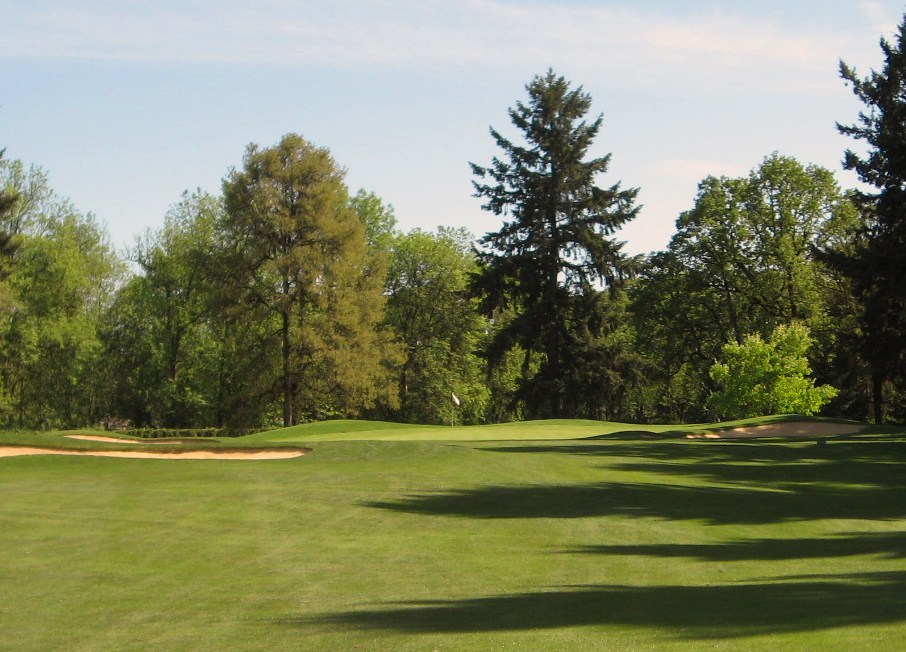
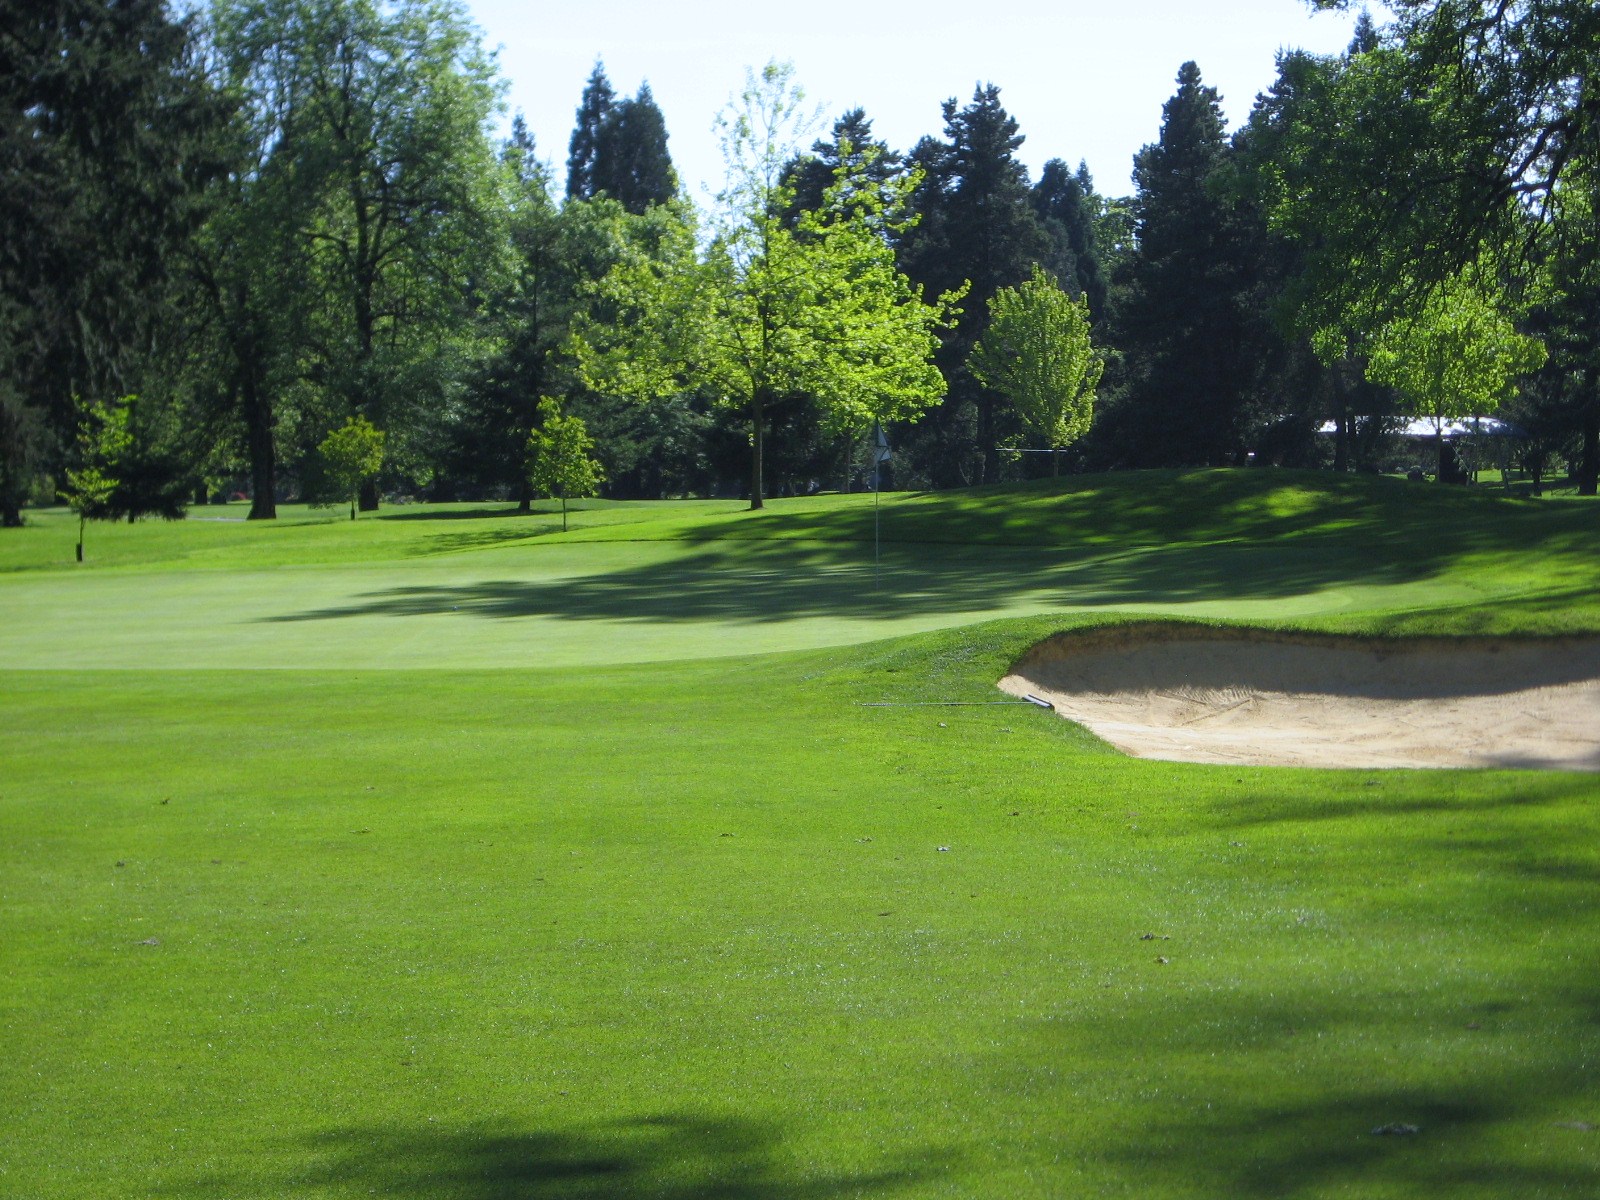
The ideal line off the tee is just right of the bunker, which can be achieved with a hybrid, long iron or fairway wood depending on the golfer. A good tee shot will leave a mid to short iron approach into the green which is protected to the left by a bunker and a rather steep slope.
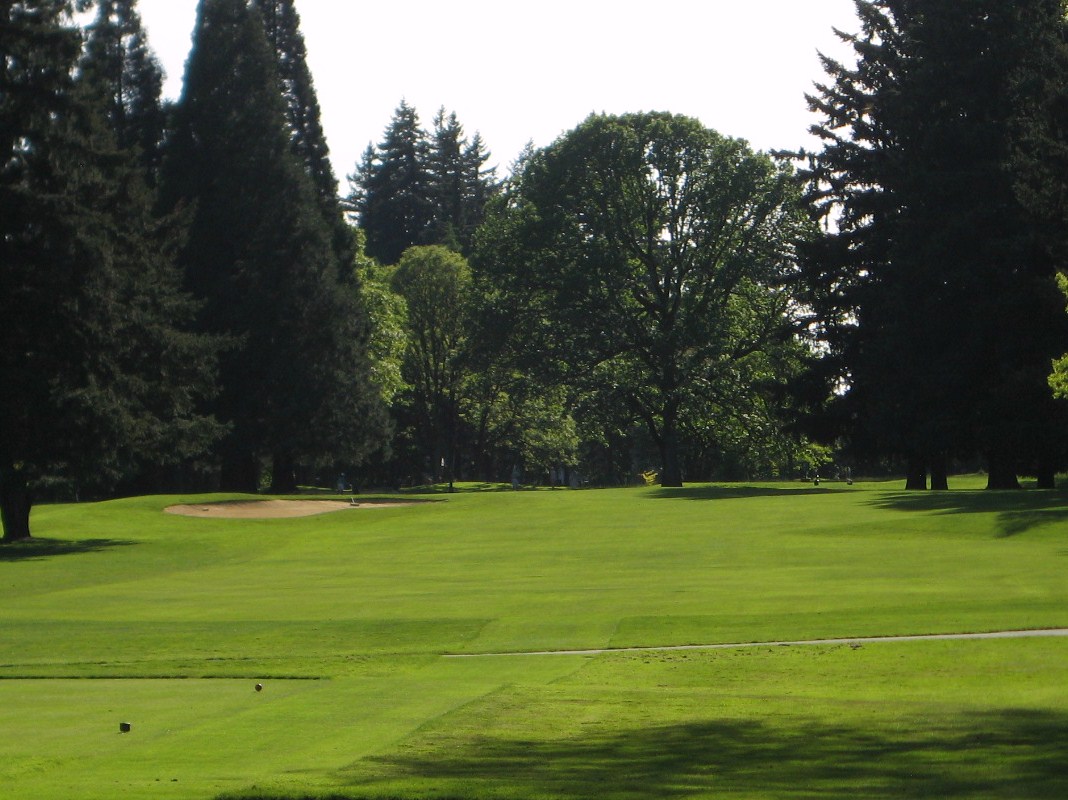
Approach shot into the 1st Green. Photo by Rob Rigg.
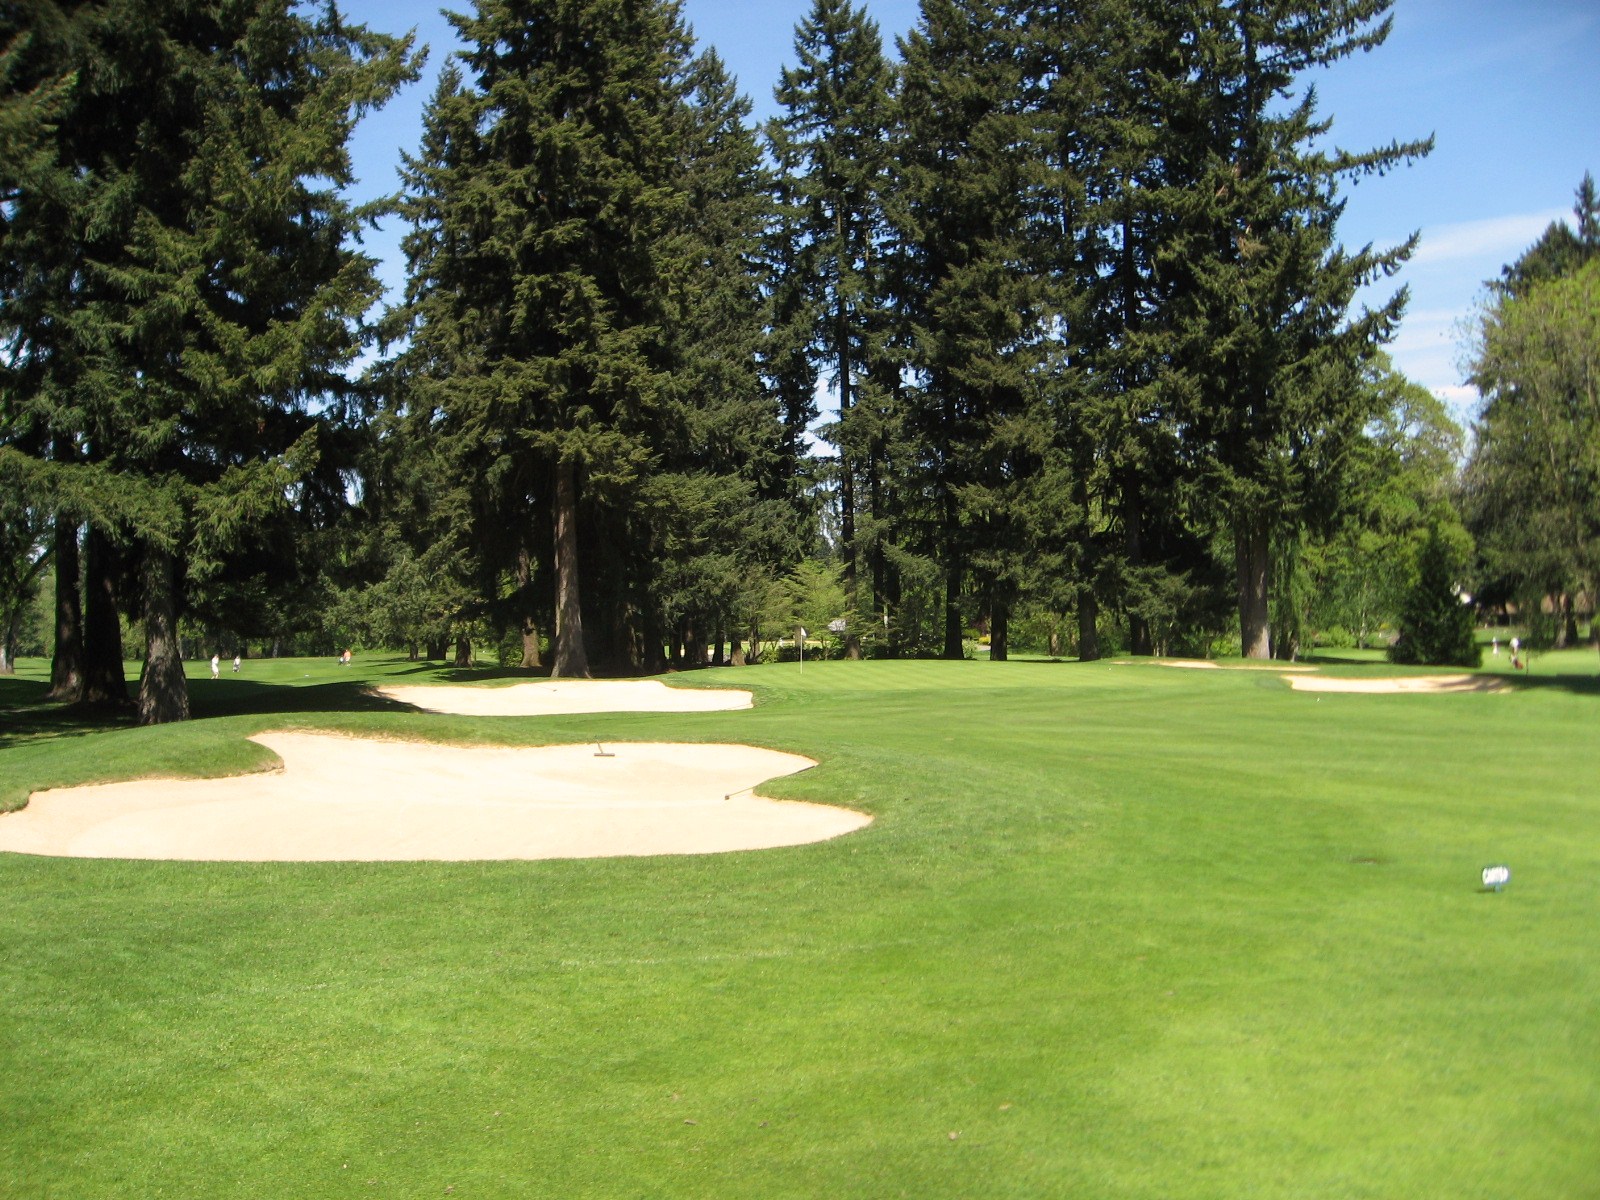
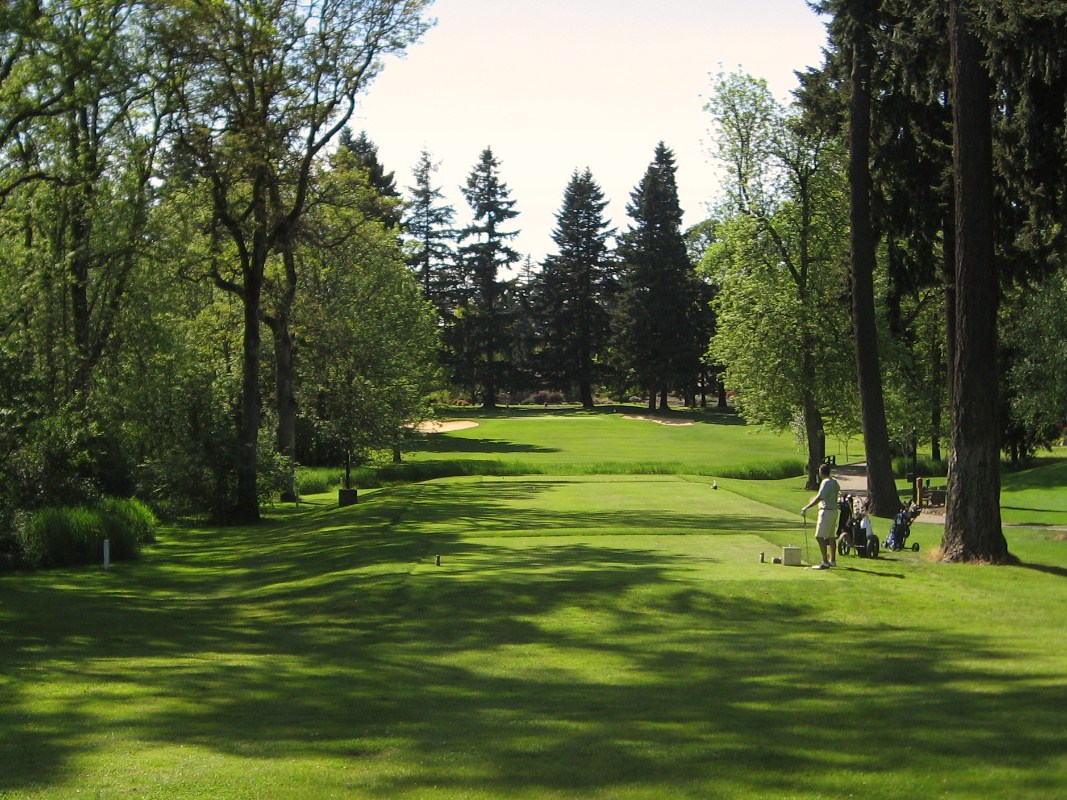
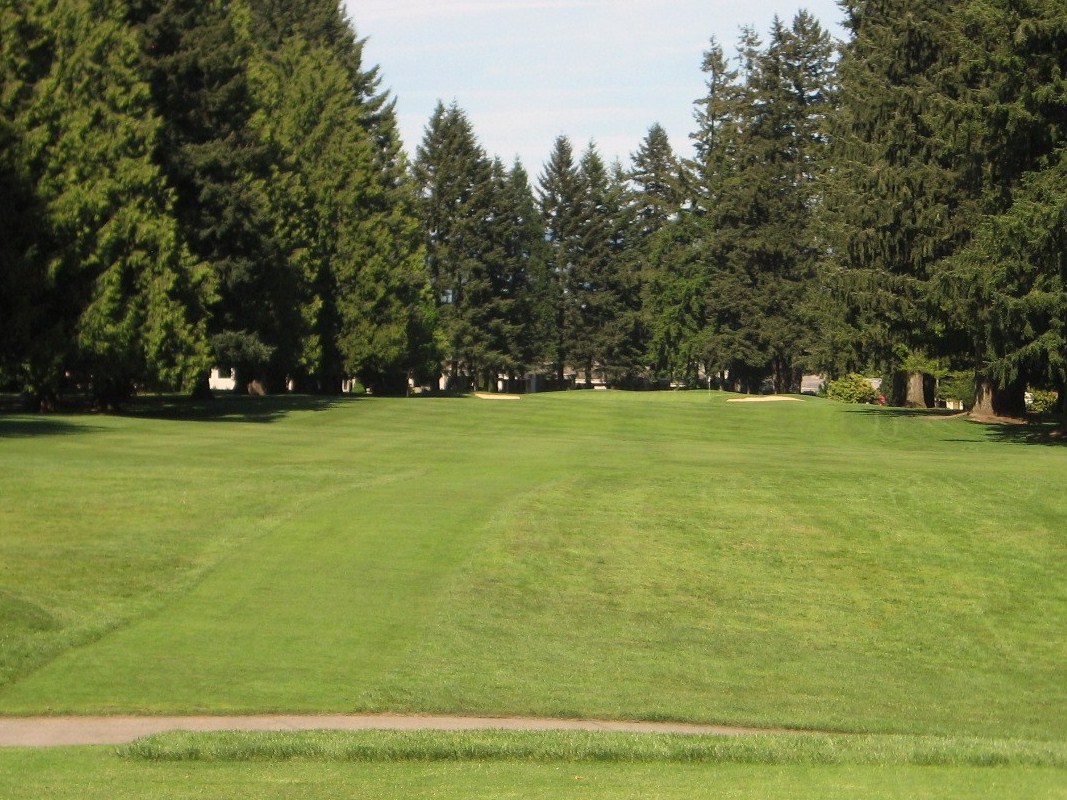
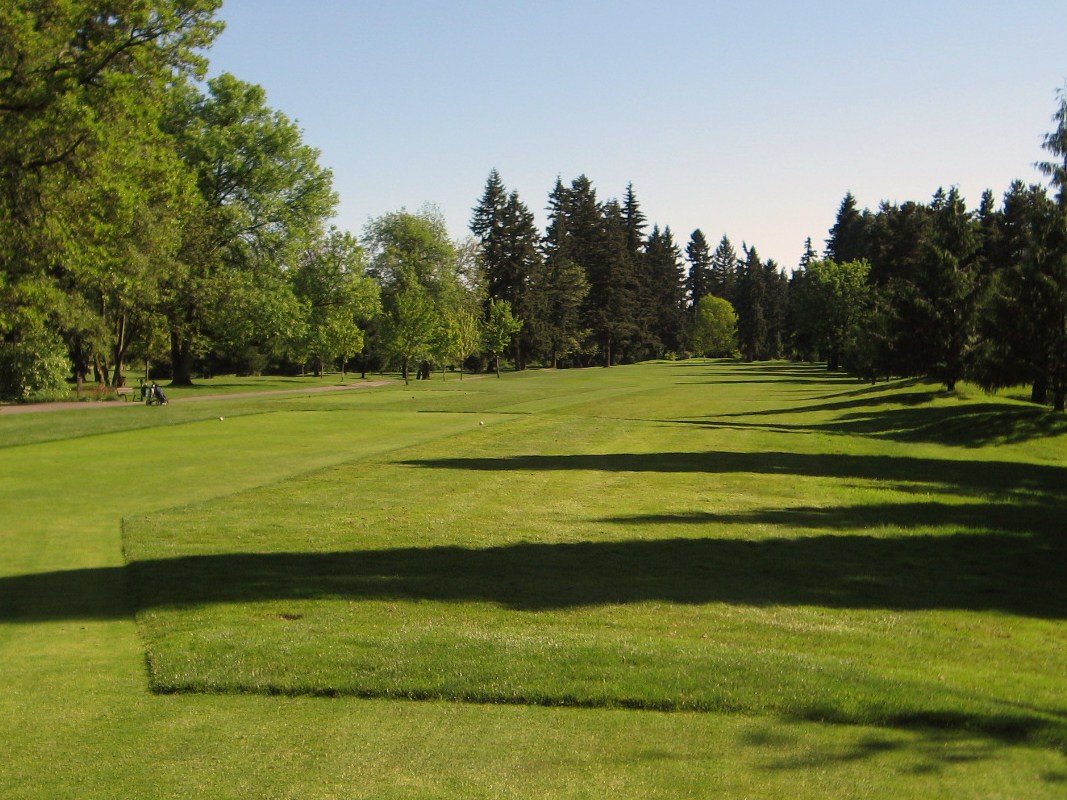
2nd Hole – Slicers Folly – Par 5 (474/535)
The best line off the tee at the three shot second is definitely to the left side of the fairway for any chance of reaching the green in two.
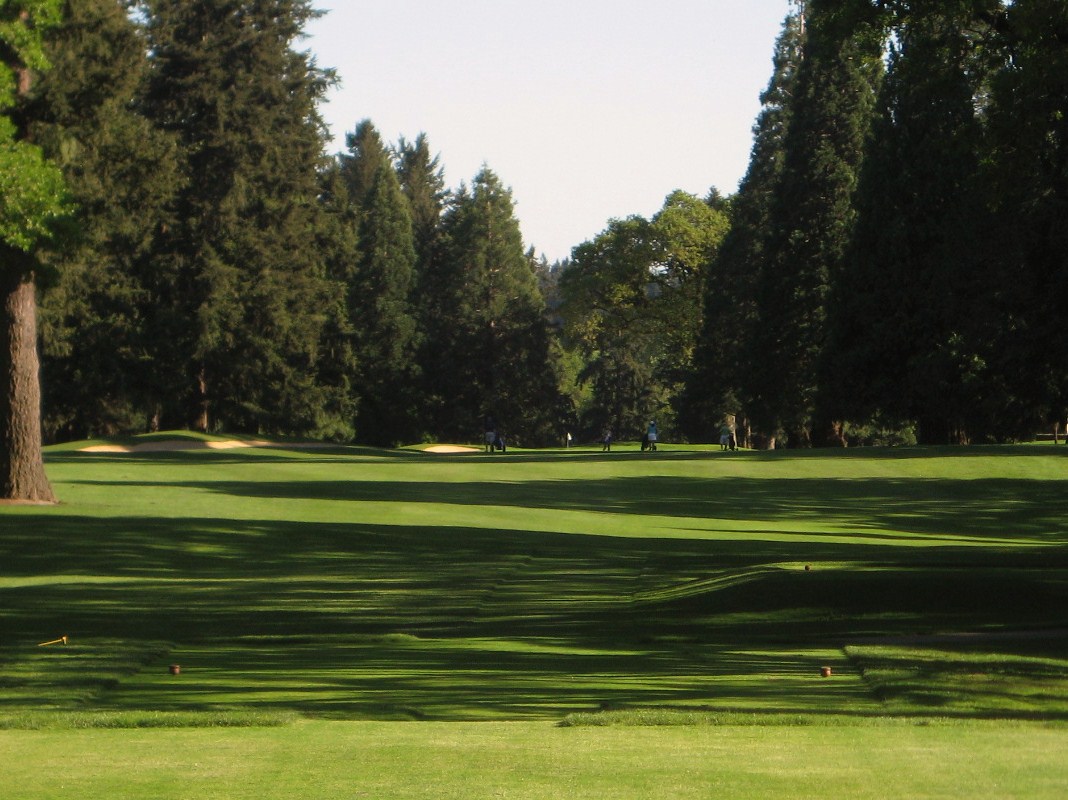
2nd Tee at Royal Oaks. Photo by Rob Rigg.
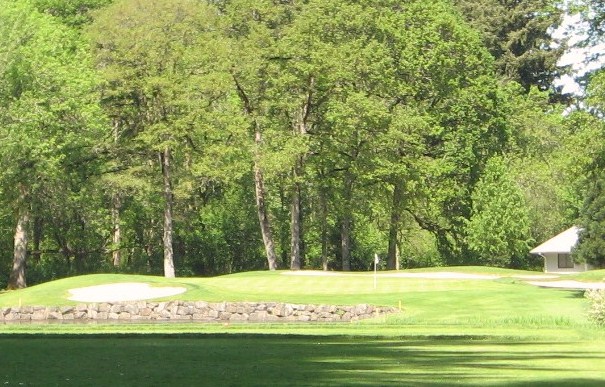
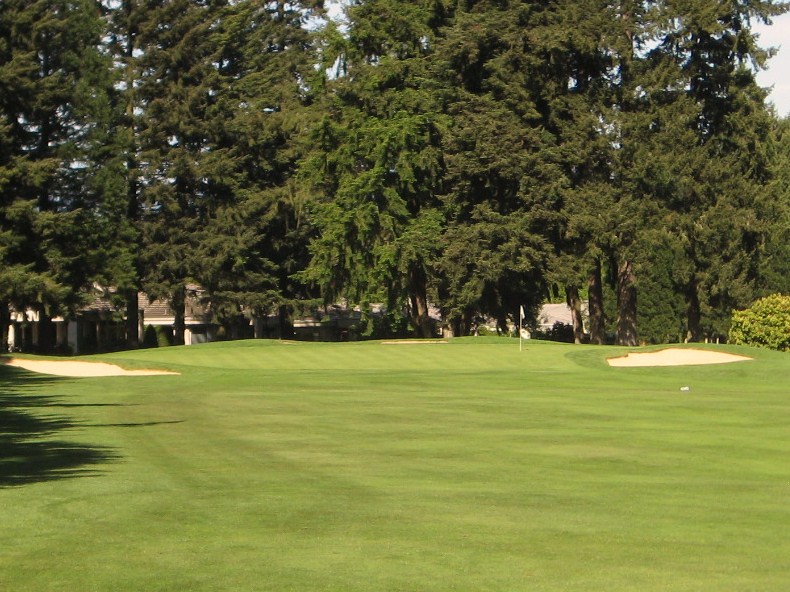
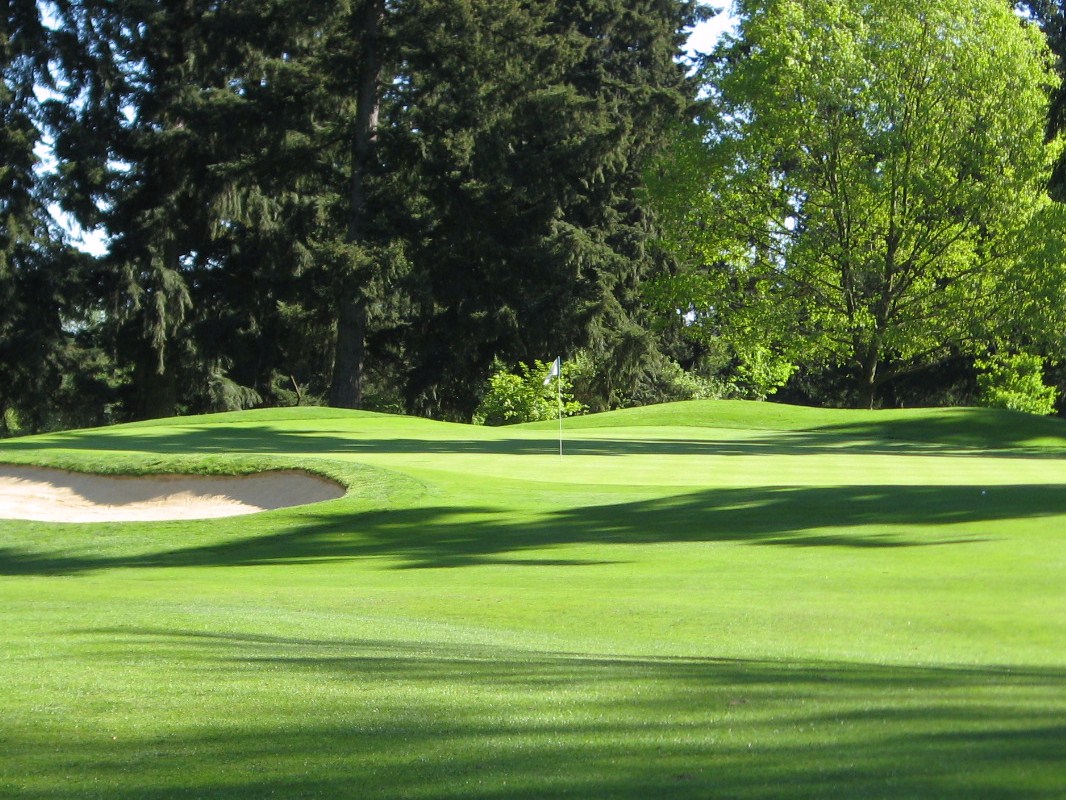
The green is protected from an approach from the right side by a stand of trees. A cut three wood or lay up is the only option for a missed drive. The green is protected on the left and right by a series of bunkers, but a low running shot has a chance of getting on the dance floor.
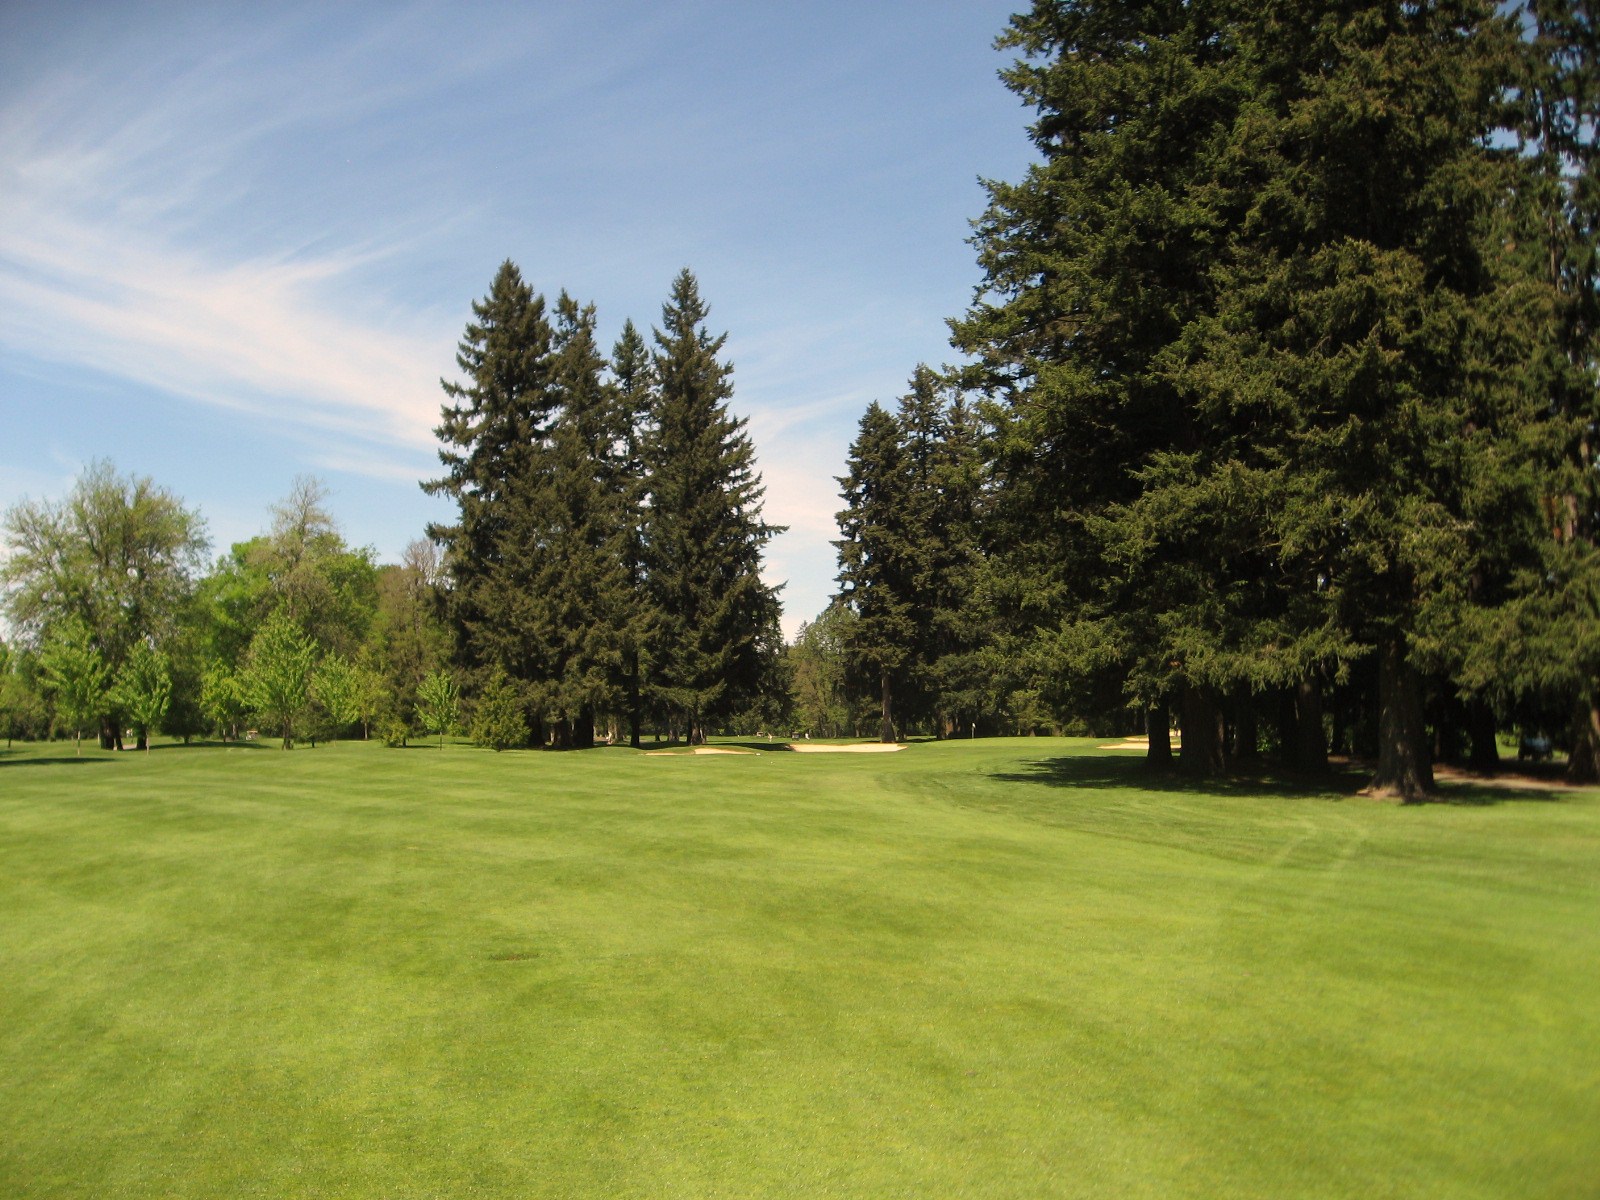
Approach to the 2nd Green. Photo by Rob Rigg.
3rd Hole – Burnt Bridge – Par 4 (347/423)
The third is a difficult hole that calls for a well placed draw off the tee. Anything left is either in the trees or in the creek that runs up that side and then across the fairway about 140 yards short of the green. A pushed tee shot will force a punch out, or a very long second.
3rd Tee at Royal Oaks. Photo by Rob Rigg.
As is often the case, the green is sloped back to front, open to a running approach, and protected on both sides by bunkers.
3rd Green at Royal Oaks. Photo by Rob Rigg.
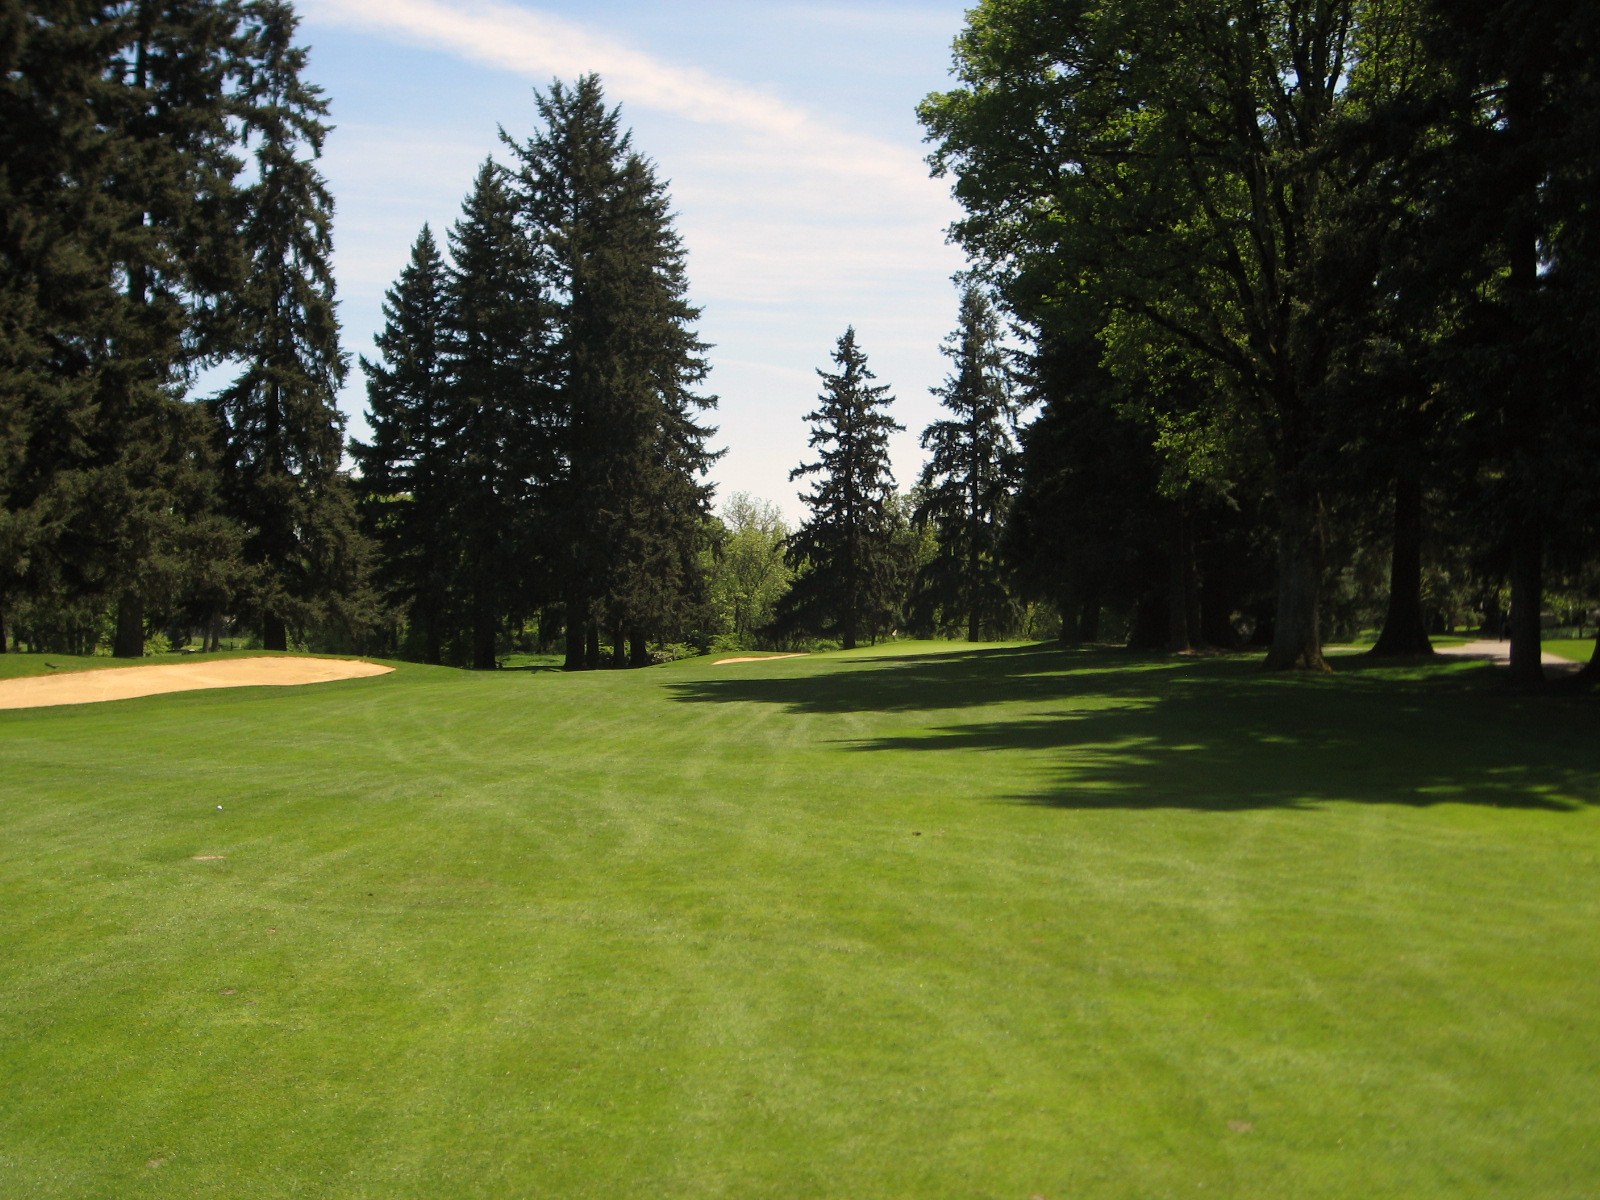
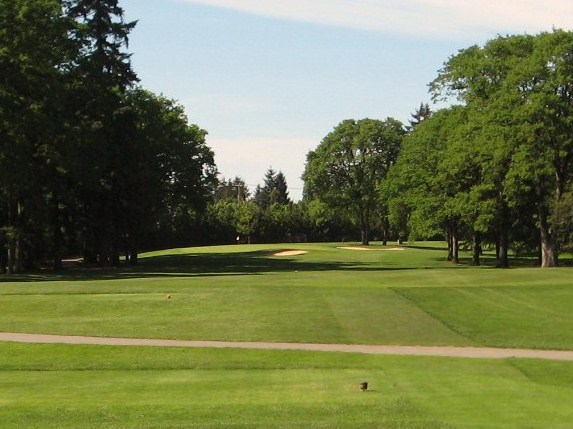
4th Hole – Straight Arrow – Par 4 (361/453)
The two shot fourth calls for a well struck drive that finds the middle of the fairway because there is little room to miss with the trees hungrily waiting.
4th Tee at Royal Oaks. Photo by Rob Rigg.
The left side of the fairway is often the best angle for the approach to this slightly tilted green. A small hollow protects the front, with a bunker on the right and a stream way left. As is often the case at Royal Oaks, a premium is placed on accuracy off the tee.
4th Green at Royal Oaks. Photo by Rob Rigg.
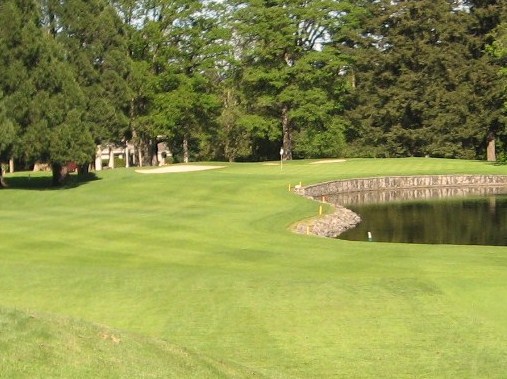
5th Hole – Waterloo – Par 3 (110/160)
The only greens on the course that are protected by ponds are at the one shot 5th and one shot 12th. Waterloo should be an easy par because the tee shot is with a short iron, however the water, bunkers left, right and back will challenge even the experienced golfer’s nerves.
The 5th at Royal Oaks. Photo by Rob Rigg.
6th Hole – Longworth – Par 5 (489/535)
The sixth hole is bordered to the left off the tee by houses, the first time the golfer encounters them on the course. As with the two shot third, this par 5 calls for a well struck draw off the tee. A long drive that starts at the red tree in the picture below and finishes past the bunker will leave a 3 wood into the green which is protected by a well placed bunker about 75 yards from the green on the left side. A push or fade will probably force a punch out from the trees or a lay up to about the 150 marker. A hook will likely be OB unless the trees are kind to you.
6th Tee at Royal Oaks. Photo by Rob Rigg.
A draw is again called for to reach the green in two. Bunkers protect the putting surface on the right and left and a slope beyond the mounds at the back creates a difficult up and down if you go long. This was one of my favorite holes on the course as scores can range from an eagle to an X.
Approach to the 6th at Royal Oaks. Photo by Rob Rigg.
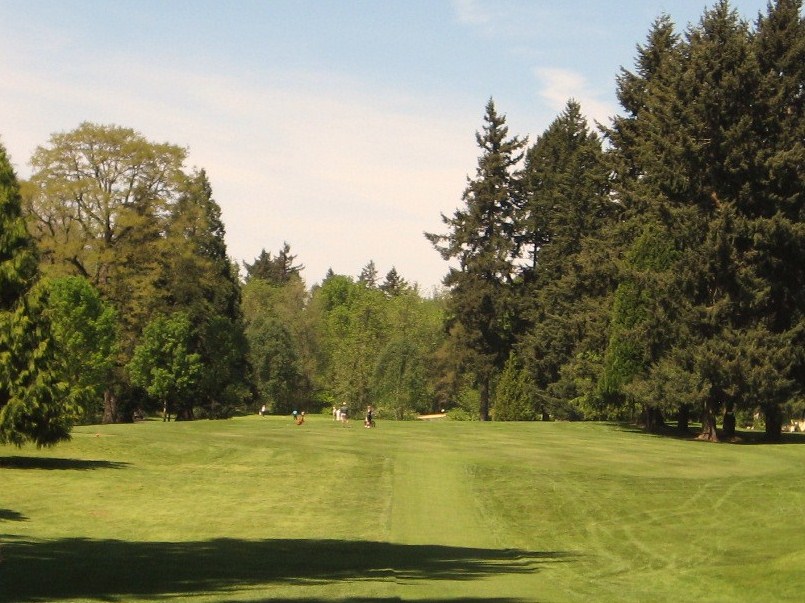
7th Hole – Looks Easy – Par 4 (281/318)
The potentially driveable seventh is a chance for the golfer to make birdie with a huge drive or two carefully placed shots. The fairway is hidden from the tee as it slopes down towards the green.
Tee shot at the 7th at Royal Oaks. Photo by Rob Rigg.
A hybrid or three wood will leave a short approach to another green protected on both sides by bunkers but open at the front. A bump and run probably looks like the correct play, but it is difficult to stop the ball short of the pin as the down slope in front of the green will kick your ball to the back, leaving a very tricky down hill putt for birdie. It is difficult to see in the photo, but the green has several undulations that break it up into three distinct sections.
The 7th Green at Royal Oaks. Photo by Rob Rigg.
8th Hole – The Chute – Par 3 (142/233)
The appropriately named eighth nicely complements the short par 4 seventh. From the tips, a well struck fairway wood traverses a creek before encountering a steep false front to a green protected by bunkers on both sides and rough at the back. The putting surface is steeply cambered back to front with a spine on the back left that makes for a very nervy two putt. This is one of the most challenging holes at Royal Oaks where bogey is much more common than par.
The par 3 8th at Royal Oaks. Photo by Rob Rigg.
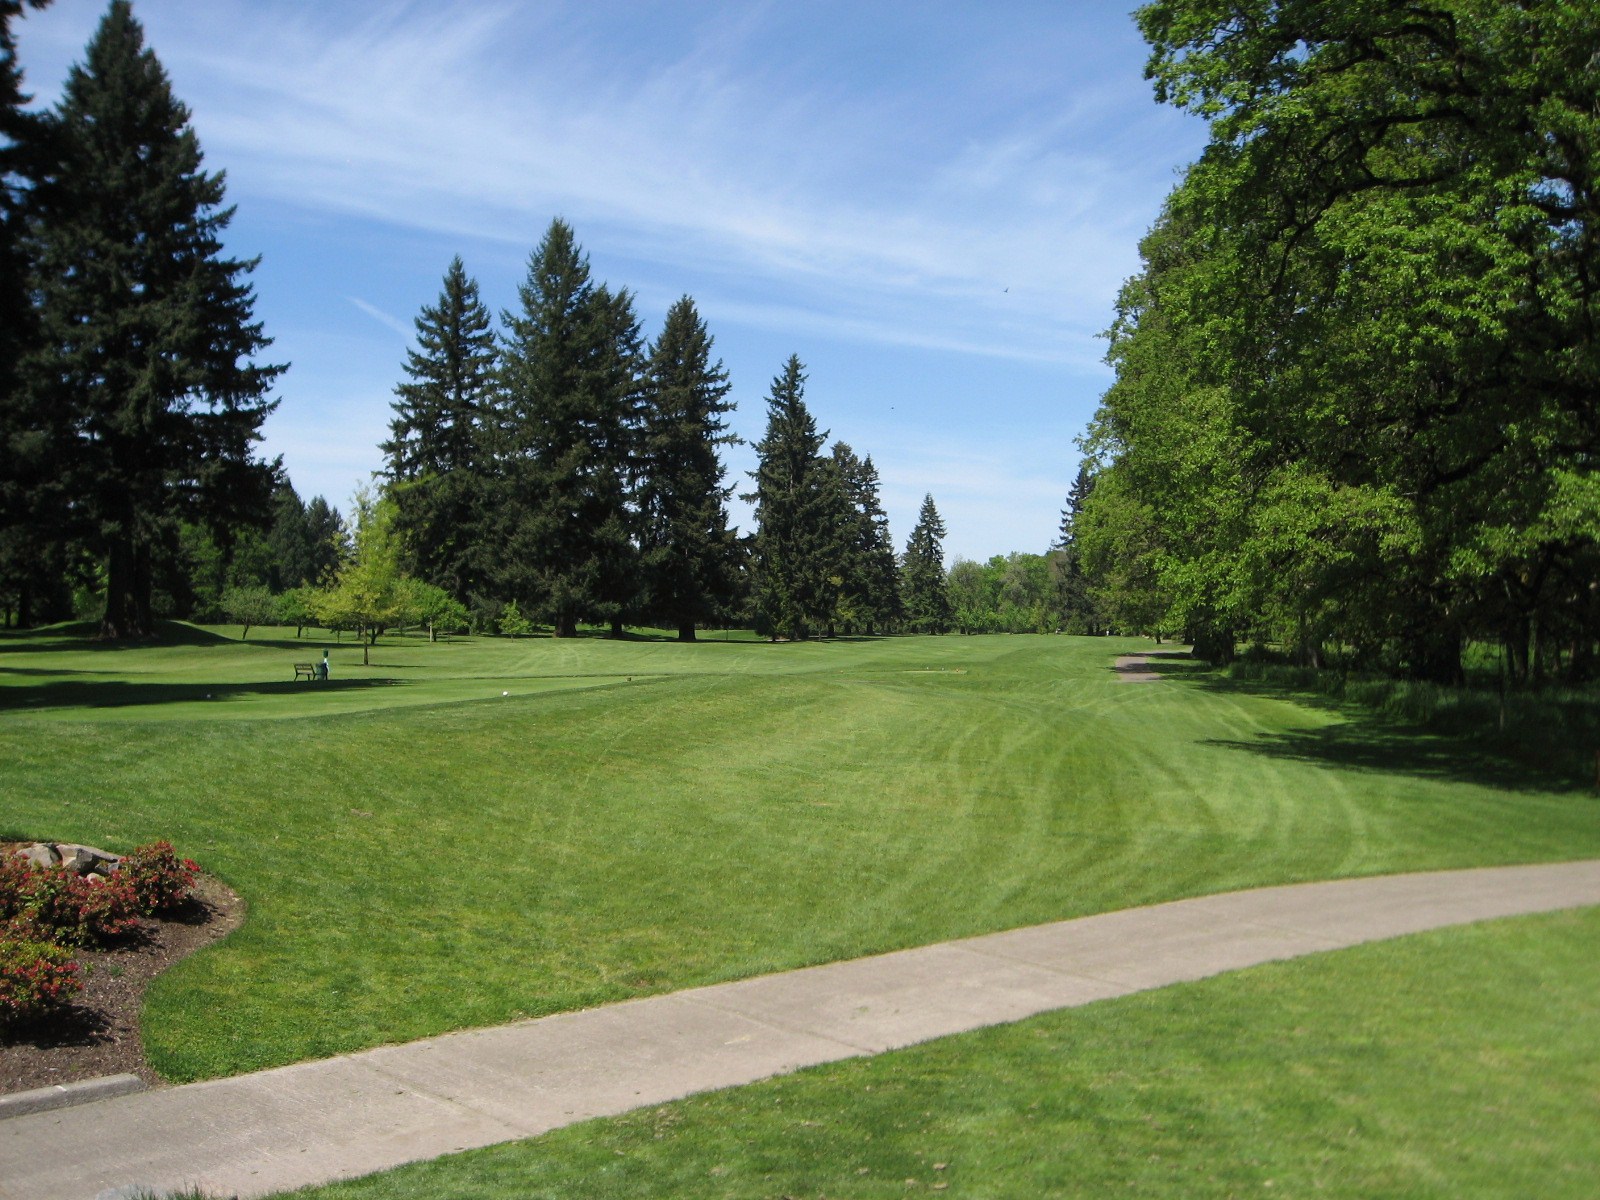
9th Hole – Lonely Apple – Par 4 (343/427)
The front nine concludes with a solid two shotter that moves right to left as it climbs to the green. Trees guard the left side of the fairway, and the ideal tee shot is a draw that starts on the right and finishes beyond the dog leg. The front nine finishes where you started, at the clubhouse.
10th Hole – Acorn Alley – Par 4 (280/315)
The tenth may appear short on the scorecard but the tight fairway will take driver out of the hands of all but the confident straight hitter. The approach is from a valley to an uphill green.
10th Tee at Royal Oaks. Photo by Rob Rigg.
The tenth green is appears like a small target from the fairway, with a deep bunker protecting the front and another bunker to the right. As seen below, the green apexes in the middle and slopes to either side making ball placement vitally important to secure a two putt.
The 10th Green at Royal Oaks. Photo by Rob Rigg.
11th Hole – The Grandy – Par 4 (379/431)
The two shot eleventh is pretty straight-forward. The fairway is safe, while left and right are full of danger.
The 11th Tee at Royal Oaks. Photo by Rob Rigg.
The green is surrounded by bunkers so the safe play is to the center of the green which will result in a good birdie chance.
11th Green at Royal Oaks. Photo by Rob Rigg.
12th Hole – The Pond – Par 3 (133/196)
The tee box of the day and pin placement will dictate how much of the pond will come into play. The rather large green slopes back right to front left and is protected by bunkers on the left and back left. Short left is the only bailout for the nervous golfer.
12th Hole at Royal Oaks. Photo by Rob Rigg.
13th Hole – The Monster – Par 5 (449/555)
You may need to get out your chainsaw for this one as the thirteenth calls for three well placed shots to have a chance at birdie. The tee shot is fired out of a chute of trees and placement in the fairway is key.

13th Tee at Royal Oaks. Photo by Rob Rigg.
A well struck drive provides no hope of reaching the green in two as it is located around the corner to the right beyond the trees. The ideal lay up is as close to the bunker ahead as possible to leave a straight shot into the green.
2nd shot at the 13th at Royal Oaks. Photo by Rob Rigg.
As you can see, there is little room for error on The Monster. The green slopes from back right to front left and is protected by trees and bunkers on either side.

Approach to the 13th at Royal Oaks. Photo by Rob Rigg.
The golfer should be happy with par and ecstatic with a birdie, unfortunately I missed mine . . .
The 13th Green at Royal Oaks. Photo by Rob Rigg.
14th Hole – Gully – Par 4 (341/451)
This is a long par 4 that calls again for a straight drive down the middle.
14th Tee at Royal Oaks. Photo by Rob Rigg.
The green is fairly deep, slightly elevated and protected by a bunker on the front left. Anything that lands short will stay short, leaving a tricky chip to the hole.
14th Green at Royal Oaks. Photo by Rob Rigg.
15th Hole – Forty Firs – Par 5 (435/556)
As the name suggests, there is a lot of wood to avoid on this reachable par 5. The slightly elevated green demands a well struck second to reach the putting surface.
15th Green at Royal Oaks. Photo by Rob Rigg.
16th Hole – Sweet Sixteen – Par 3 (149/226)
What you see is what you get at the long one shot sixteenth. A hybrid or long iron must avoid bunkers left and right and a drop off at the back. Short is okay, leaving a manageable up and down for par.
16th Hole at Royal Oaks. Photo by Rob Rigg.
17th Hole – Gopher Broke – Par 4 (337/420)
A lone fairway bunker protects the left side off the tee. Aim at the tree straight ahead to leave the ideal approach angle into this small green protected on both sides by bunkers. If you are in play off the tee, a birdie is possible, otherwise you will be punching out and scrambling for par.
17th Tee at Royal Oaks. Photo by Rob Rigg.
18th Hole – Headin’ Home – Par 4 (341/415)
The shadows were getting long late in the afternoon at the home hole. The bunker on the left side of the fairway may force the golfer right into a stand of trees, which I would know from experience. A punch out to 150 yards leaves a straight forward approach to a green protected front left, right, and at the back with bunkers. Get your four and head to the bar to unwind from what may have been a tough day on the course.
18th Hole at Royal Oaks. Photo by Rob Rigg.
Obviously to score well at Royal Oaks you need to be accurate, especially with your drives. Several tee shots call for a draw or fade to optimize the possibility of making birdie. Like many parkland courses in the Pacific Northwest, Royal Oaks can be difficult for long hitters who are directionally challenged. It is not surprising that Royal Oaks produces a good number of strong junior golfers, due to the challenging layout, a great junior program and an excellent family atmosphere at the club.
In terms of Walkability, Royal Oaks is an easy 4 out of 4. The course is flat and green to tee transfers are short.
I would rate Royal Oaks 2.5 out of 4 for Architecture and Aesthetics. The setting is beautiful, the course is meticulously maintained, but there is not a lot of variety in the holes or green complexes.
I would rate Royal Oaks 1 out of 2 for Strategy and Playability. For the low handicap golfer, this is a challenging course where good scores can certainly be achieved. It takes a lot of skill to get around Royal Oaks without a couple of blow ups, because errant tee shots are punished and recovery skills are paramount. For the high handicap golfer, it is important to “take your medicine” when appropriate, get the ball back in play and scramble like crazy. Even with lady luck on your side, there is nowhere to hide the shortcomings of your game.
Overall, the golf course at Royal Oaks receives a well deserved 7.5 out of 10 from The Walking Golfer. As a private club, it definitely rates higher for anyone looking for a family oriented country club with all of the amenities that one could hope for. I hope to get back for another round to take on this challenging layout.
TWG Rating for Royal Oaks:
4.0 / 4 – Walkability
2.5 / 4 – Architecture and Aesthetics
1.0 / 2 – Strategy and Playability
7.5 / 10 – Total
Review by Rob Rigg, 2009
The Walking Golfer Course Rating System
Total is out of 10 Points
0 – 4 points – Walkability
0 – 4 points – Architecture and Aesthetics
0 – 2 points – Playability and Strategy
This is a well written review of the course. The reason the members enjoy it so much is that it can be played every day and you are guaranteed to be challenged in a different way every time you go out. When your handicap is primarlily produced at Royal Oaks you do very well at most other courses.